Liquid Measuring Cups vs Dry Measuring Cups: Are They Interchangeable?
"Learn the difference between dry and liquid measuring cups, how each works, when to use them, and how to measure flour, sugar, milk, oil, and more accurately."
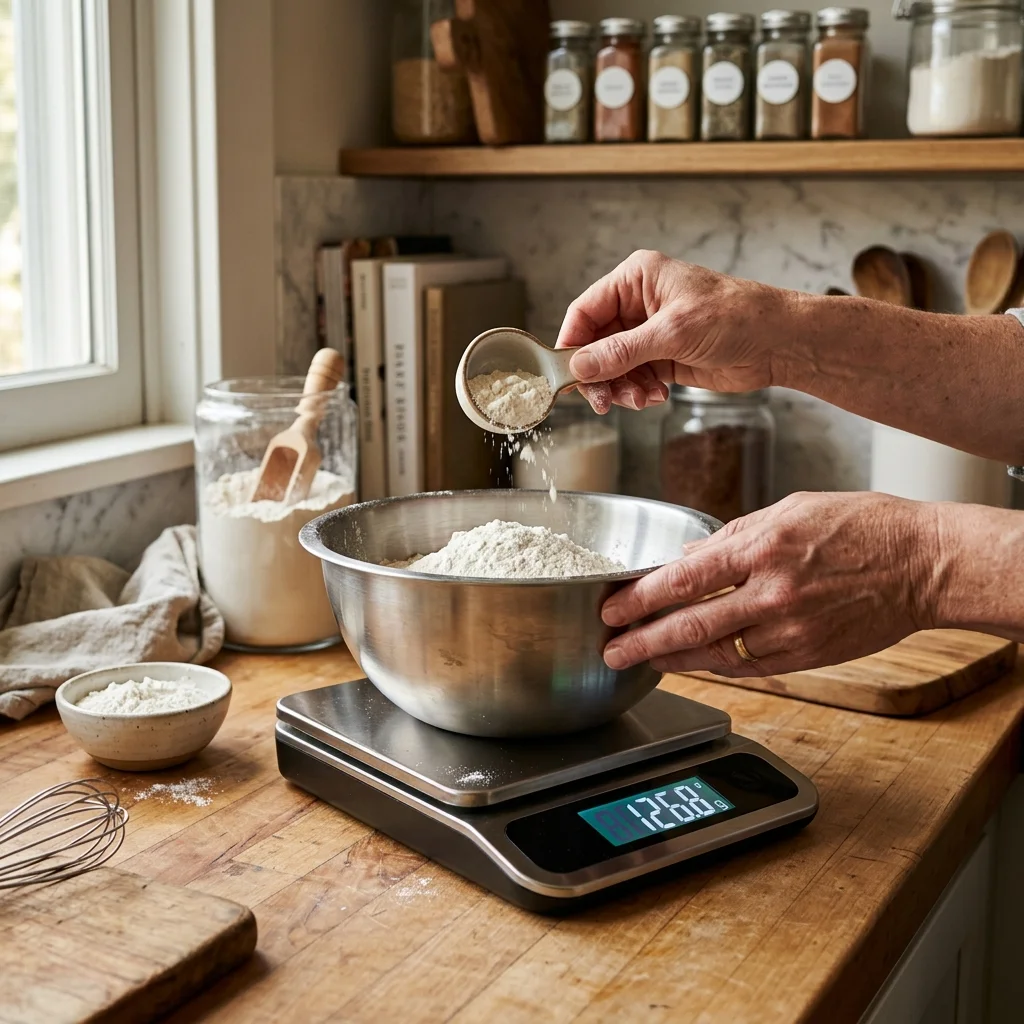
Liquid measuring cups and dry measuring cups measure the exact same physical volume standard, one standard US Customary Cup in both styles equals exactly 236.59 milliliters (or 8 US fluid ounces).
However, they are designed differently to accommodate the unique physical behaviors of dry powders versus flowing liquids. Dry measuring cups are designed to be filled to overflowing and swept flat across the rim with a straight edge. Liquid measuring cups feature transparent walls with graduated volume markings below the top rim, allowing fluids to be poured and read at eye level without sloshing over the sides. Using the wrong tool won't automatically ruin simple recipes, but for precision baking, understanding when and why to use each tool ensures consistent, delicious results.
Convert cup volumes into gram weights using our Cups to Grams Converter, convert fluid ounces with the Ounces to Cups Calculator, look up fluid densities in Whole Milk Conversions, and calculate spoon amounts in Grams to Tablespoons.
Dry vs Liquid Measuring Cups at a Glance
While both tool types hold identical physical volumes, their mechanical designs serve distinct kitchen functions:
| Feature | Dry Measuring Cup | Liquid Measuring Cup |
|---|---|---|
| Primary Design | Individual nested cups (1 cup, 1/2, 1/3, 1/4) with flat top rims | Single transparent pitcher with handles, pour spouts, and side markings |
| Typical Material | Stainless steel, heavy-gauge aluminum, or BPA-free opaque plastic | Tempered glass (Pyrex, Anchor Hocking) or clear polycarbonate plastic |
| How Ingredient Is Measured | Filled slightly overflowing and leveled flat across the rim with a straight knife | Poured into the vessel until liquid reaches the target line on the side wall |
| How Level Is Read | Tactile leveling across the top edge | Visual reading at eye level at the bottom of the liquid meniscus curve |
| Best Uses | Flour, sugar, cocoa powder, oats, cornmeal, chocolate chips, nuts | Water, milk, vegetable oil, broth, fruit juices, melted butter, honey |
| Key Ergonomic Advantage | Prevents mounding or packing of compressible dry powders | Prevents liquid sloshing and spills; enables smooth pouring into mixing bowls |
What Is a Dry Measuring Cup?
A dry measuring cup is an individual vessel built to hold one specific fixed volume. Dry cups come in nested sets of standard increments, typically 1 cup, 1/2 cup, 1/3 cup, and 1/4 cup (and sometimes 1/8 cup or 2/3 cup).
The defining feature of a dry measuring cup is its completely flat top edge and rim. This flat design allows you to scoop or spoon dry ingredients into the cup until they mound slightly over the top, and then slide a straight-edged tool (like the back of a butter knife) across the rim to level off the excess powder cleanly into your storage container.
What Is a Liquid Measuring Cup?
A liquid measuring cup is typically a single transparent pitcher made of heavy tempered glass or durable clear plastic. It features printed or molded volume graduation lines along its side walls, indicating fluid ounces, cups, and milliliters.
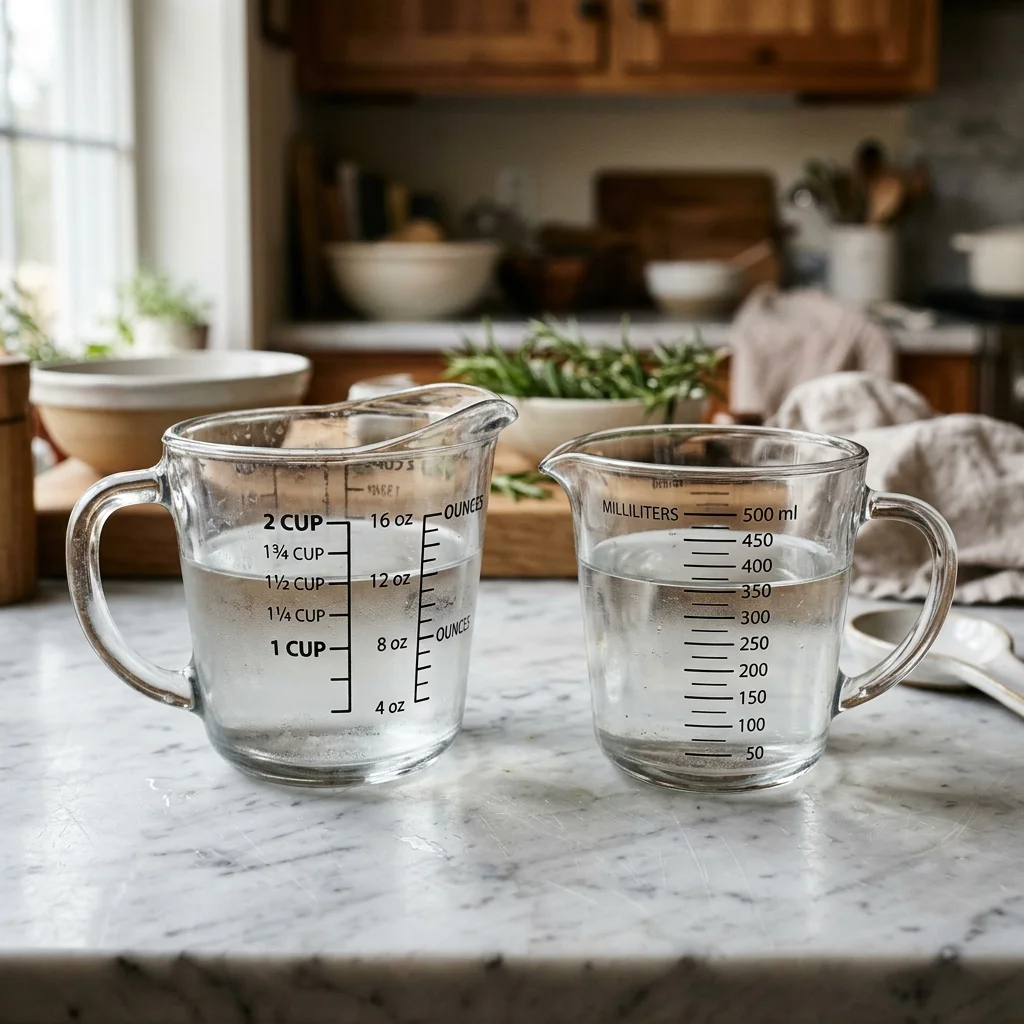
Key design attributes of liquid measuring cups include:
- Extra Headspace Above the Line: A 2-cup liquid measuring pitcher is larger than 2 cups total volume. The top line sits 1 to 2 inches below the actual rim, giving you room to carry and pour liquid without sloshing over the edge.
- Pouring Spout and Handle: Designed for controlled, mess-free transfer of fluids into mixing bowls or hot pans.
- Transparent Walls for Meniscus Reading: Liquids curve slightly where they touch container walls due to surface tension. The curved upper surface of a liquid column is called the meniscus. For exact measurement, you place the cup on a flat surface and view the bottom of that curve at eye level.
Why Are They Designed Differently?
The distinction between liquid and dry cups is purely practical and ergonomic, not a difference in legal volume standards. A US dry cup and a US liquid cup both hold 236.59 mL. However, using them for the wrong ingredient creates immediate physical challenges:
- Trying to level dry ingredients in a liquid cup: You cannot slide a knife flat across a line printed inside a tall glass pitcher. If you try to shake or tap the pitcher to level flour, the powder packs down tightly, squeezing out air and adding 15% to 25% extra flour weight!
- Trying to carry liquids in a dry cup: Because a dry measuring cup has no headspace, filling it with milk or water to the exact rim means any hand motion will spill liquid across your kitchen counter before it reaches the mixing bowl.
How to Measure Dry Ingredients Correctly
To measure dry ingredients accurately with volume tools, use the standard Spoon-and-Level Method:
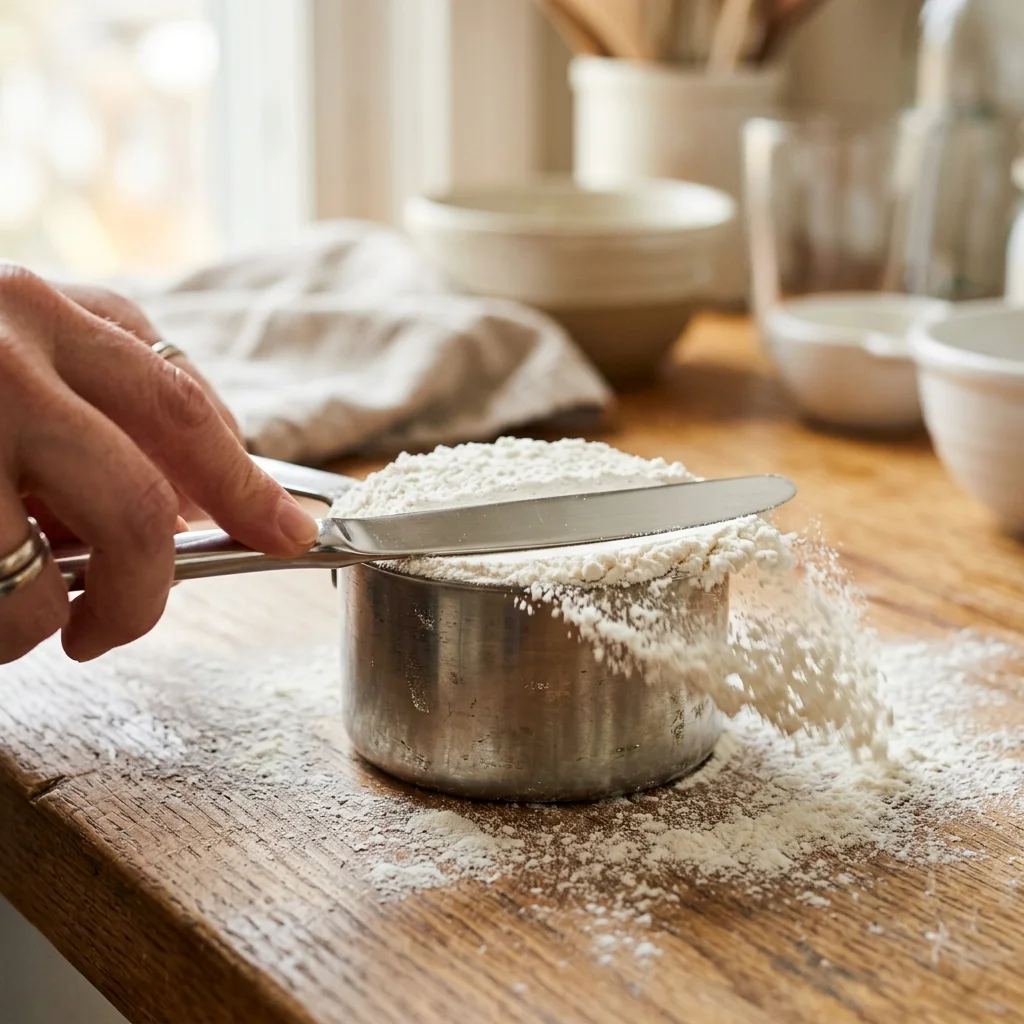
- Fluff the Ingredient: Aerate compacted flour, cocoa powder, or powdered sugar in its container with a spoon or whisk.
- Spoon Gently: Spoon the ingredient loosely into the dry measuring cup until it forms a rounded mound above the rim. Do not scoop the cup directly into the bag!
- Avoid Compressing: Do not tap the cup on the counter or press the flour down with the spoon (unless the recipe explicitly specifies packing, such as brown sugar).
- Level Off: Hold the cup over your flour canister and slide the flat back of a butter knife or straight spatula across the top rim.
How to Measure Liquid Ingredients Correctly
Measuring liquid accurately requires controlling surface parallax and surface tension:
- Set on a Flat Surface: Place your liquid measuring cup on a level kitchen counter or table. Never hold the cup in mid-air while pouring, as tilting will distort the liquid level.
- Pour Liquid: Pour your water, milk, oil, or liquid stock into the cup until it approaches the desired measurement line.
- Position Eyes Level with the Line: Crouch down so your eyes are directly horizontal with the calibration line. Looking down at an angle from above (parallax error) makes the liquid appear fuller than it actually is.
- Read the Meniscus: Liquid surface tension creates a slight downward curve in the center. Adjust liquid until the bottom of the curved meniscus line touches the calibration mark.
Can You Use a Liquid Measuring Cup for Dry Ingredients?
Technically yes, but it introduces significant volume error. If you must measure flour or sugar in a liquid measuring cup because your dry cups are in the dishwasher, proceed with caution:
Because you cannot level the surface with a knife, you have to estimate the flat surface visually or tap the cup. Tapping flour to make it level packs the particles tightly against each other, eliminating air gaps. A liquid cup filled to the 1-cup line with tapped flour often weighs **140 to 150 grams**, compared to the standard 120-gram target for a spooned-and-leveled cup, a 25% error that makes baked goods dry and rubbery.
Can You Use a Dry Measuring Cup for Liquids?
Yes, for rough cooking, but it is physically inconvenient for baking. A 1-cup dry measuring cup holds exactly 8 fluid ounces (236.59 mL) when filled flush with the top rim.
However, filling a dry cup flush to the rim means liquid surface tension is holding the fluid at the absolute edge. Lifting the handle or moving your hand even slightly will cause the liquid to slosh over the sides, leaving you with less than a full cup in your mixing bowl. For liquids, a dedicated glass pitcher with extra headspace remains the vastly superior tool.
What About Measuring Flour?
Flour is the single most volume-sensitive ingredient in home baking. Depending on storage conditions, humidity, and measuring technique, 1 cup of flour can weigh anywhere from 110 grams to 150 grams when measured by volume.
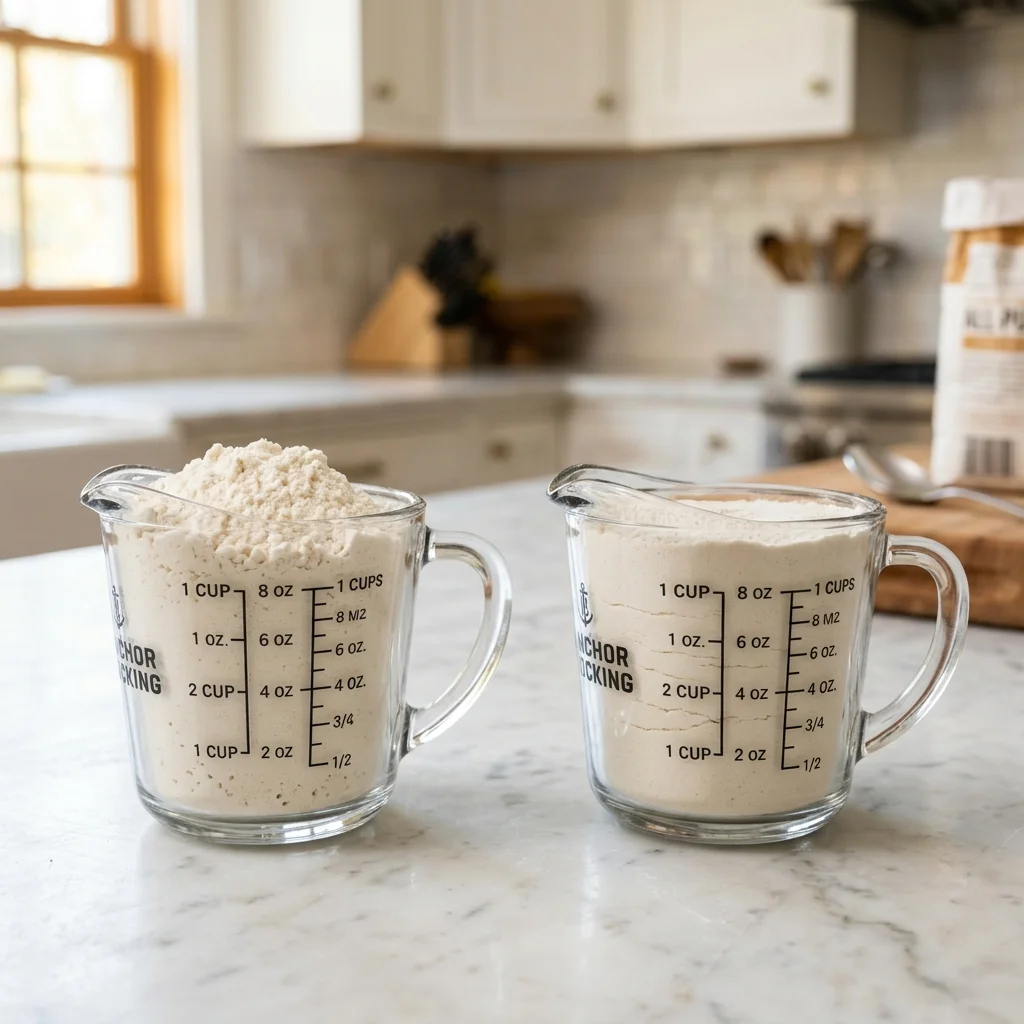
Always use a dry measuring cup with the spoon-and-level method when measuring flour by volume. For a comprehensive walkthrough of flour aeration and handling, read our master guide on How to Measure Flour Correctly.
What About Brown Sugar?
Brown sugar is the main exception to the rule against packing dry ingredients. Because brown sugar contains sticky molasses, loose brown sugar creates large, irregular air pockets inside a measuring cup.
Recipe developers specify brown sugar as firmly packed into a dry measuring cup until it packs smoothly against the sides and holds the cup's shape when unmolded. One cup of firmly packed brown sugar weighs 220 grams. For detailed packing visual guides, consult How to Measure Brown Sugar: Lightly Packed vs Firmly Packed vs Grams.
What About Honey and Syrups?
Sticky liquids like honey, molasses, maple syrup, and corn syrup pose a unique measuring dilemma: they are liquids, but their high viscosity makes them stick to the walls of liquid measuring cups, leaving significant volume behind when poured into a mixing bowl.
To measure sticky syrups accurately, you can spray a dry measuring cup with non-stick cooking spray before pouring (allowing the syrup to slide out cleanly) or, ideally, weigh the syrup directly into your mixing bowl on a digital scale. Learn more in our dedicated article on How to Measure Sticky Liquids Like Honey, Molasses, and Syrup.
When Should You Use a Kitchen Scale Instead?
While understanding measuring cup mechanics improves your baking, switching to a digital kitchen scale measuring in grams eliminates volume measurement errors entirely.
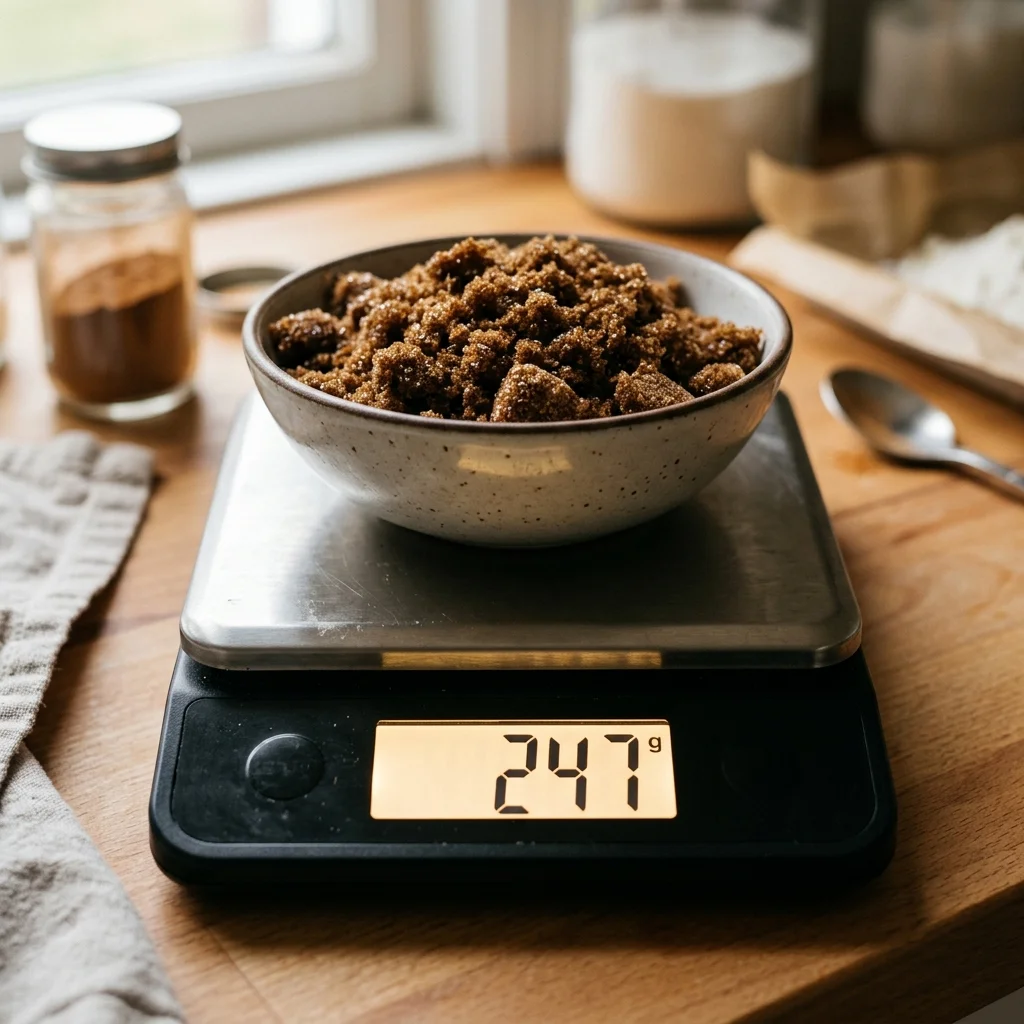
Using weight instead of volume offers three critical baking advantages:
- 100% Repeatable Precision: 120 grams of all-purpose flour is always 120 grams, regardless of whether your flour was sifted, scooped, or settled during shipping.
- Fewer Dirty Dishes: You can place one mixing bowl on your scale, press the Tare (Zero) button, and weigh flour, sugar, cocoa, and butter directly into the bowl sequentially. Learn how in our Step-by-Step Guide: How to Use a Digital Kitchen Scale.
- Superior Texture Control: Professional bread bakers, sourdough enthusiasts, and pastry chefs rely on gram weights for exact baker's percentages. Read Why Baking by Weight Is Superior to Measuring by Volume.
Common Measuring Cup Mistakes
Avoid these frequent measuring pitfalls to keep your baked goods light and moist:
- Reading Liquid Lines from Overhead: Looking down at a liquid cup sitting on the counter causes parallax distortion, making 7 fluid ounces look like 8 fluid ounces. Always crouch down to eye level.
- Scooping Flour Directly from the Bag: Dipping a dry cup directly into flour packs up to 30 grams of extra flour into the cup. Fluff and spoon flour instead.
- Confusing Fluid Ounces (Volume) with Weight Ounces (Mass): 8 fluid ounces of liquid water weighs 8 weight ounces, but 8 fluid ounces of flour only weighs 4.23 weight ounces! Review Top 7 Gram-to-Cup Conversion Mistakes Bakers Make (And How to Fix Them).
- Ignoring International Cup Standards: American recipes use 236.59 mL US Customary Cups, whereas British and Australian recipes use 250 mL Metric Cups. Learn how to convert between standards in US Cup vs Metric Cup vs Imperial Cup: Volume & Conversion Differences or refer to The Master Cups to Grams Baking Conversion Guide.
Frequently Asked Questions
1. What is the difference between dry and liquid measuring cups?
Dry measuring cups feature flat rims designed to be leveled flat with a knife for powders. Liquid measuring cups feature transparent pitcher walls with volume markings below the top rim to read fluids at eye level without spilling.
2. Can you use a liquid measuring cup for flour?
Technically yes, but it is inaccurate. Because you cannot level flour with a straight knife inside a pitcher, tapping or shaking to level packs the flour down, adding up to 25% extra flour weight.
3. Can you use a dry measuring cup for milk or water?
Yes, a 1-cup dry measuring cup holds exactly 8 fl oz (236.59 mL). However, filling it flush to the rim makes carrying liquid to your mixing bowl difficult without sloshing over the edges.
4. Are dry and liquid measuring cups the same volume?
Yes. In standard American culinary standards, 1 US Customary dry cup and 1 US Customary liquid cup both equal 236.59 milliliters (8 US fluid ounces).
5. Why do liquid measuring cups have extra space above the top line?
The extra headspace prevents liquids from sloshing and spilling over the rim when carrying or pouring liquids into mixing bowls.
6. How do you measure flour correctly with measuring cups?
Aerate flour in its bag, spoon flour gently into a dry measuring cup until mounded over the rim, and sweep flat across the rim with the back of a butter knife.
7. How do you measure liquid accurately in a glass cup?
Set the cup on a level counter, pour liquid, crouch to eye level horizontal with the calibration line, and read until the bottom of the curved meniscus curve touches the mark.
8. Should I use a digital scale instead of measuring cups?
Yes, for precision baking. Weighing flour and dry ingredients in grams eliminates volume packing errors and reduces dirty dishes.
9. Do dry measuring cups need to be leveled?
Yes. Sweeping the excess ingredient off the rim with a straight edge ensures a uniform volume standard without compacting the ingredient.
10. Why is brown sugar packed while flour is not?
Brown sugar has sticky molasses that creates large, irregular air pockets unless firmly packed. Flour traps microscopic air that must not be compressed.
11. What is the meniscus on a liquid measuring cup?
The meniscus is the slight downward curve formed at the liquid surface due to surface tension along the vessel walls. Always measure at the bottom of the curve.
12. Are dry measuring cups accurate?
Dry cups measure volume accurately, but ingredient handling (scooping vs spooning) causes dry weight variations of 10% to 25%. Weighing in grams is more accurate.
Interactive Baking Weight Converter
Convert recipe volumes into exact gram weights instantly.
Interactive Baking Weight Converter
Convert recipe volumes into exact gram weights instantly.
Custom package weights override standard database densities for this session without altering official database records.
Need Full Density Reference Tables?
Explore complete g/cup density tables, USDA ratios, and measurement tools.
Related Baking Guides
Top 5 Best Kitchen Digital Scales for Baking Precision in 2026
Compare the best kitchen scales for baking, including accuracy, capacity, tare functions, readability, and features that matter for precise recipes.
Kitchen ToolsStep-by-Step Guide: How to Use a Digital Kitchen Scale for Baking
Learn how to use a digital kitchen scale for baking, including tare, grams, ounces, weighing flour, liquids, multiple ingredients, and recipe conversions.
Kitchen ToolsHow to Double or Halve a Baking Recipe Without Ruining It
Learn how to double or halve baking recipes correctly, including eggs, pan size, ingredient weights, baking time, and temperature adjustments.